Turning on your shower should be as easy as the flip of a switch. But when your shower diverter breaks, taking a shower is not so easy—water continues to pour from your tub’s faucet after you’ve switched the diverter. Luckily, repairing a shower diverter is quick and fairly simple.
What Is a Shower Diverter, Anyway?
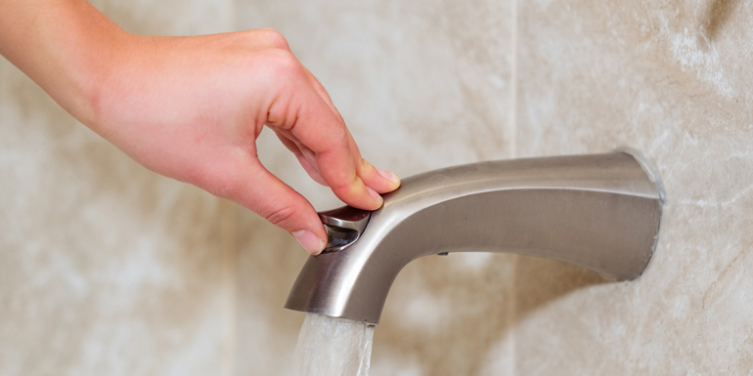
A shower diverter is a mechanism that reroutes the water from your bathtub faucet to your showerhead. Many shower diverters are controlled by a pin knob that you pull, but there are many types. Maybe yours is turned on with a button or with a third faucet handle between the bathtub’s hot and cold knobs.
How to Determine that Your Shower Diverter Is Broken
This one’s easy. If, after you trigger your shower diverter, water continues to leak out of the bathtub spout rather than the showerhead, the shower diverter is not working properly. This could mean that the inner rubber stopper isn't creating a good seal to fully block and redirect the flow of water, or it could be another problem. Follow the steps below to troubleshoot and address the issue.
How to Repair a Shower Diverter
Once you’ve determined that your shower diverter is broken, don’t delay in repairing it. Though it might be an easy task to put off, a broken shower diverter wastes water and creates a poor shower experience. Repairing a shower diverter is a home improvement project that you can complete in just one day.
- Set the scene: Before you do anything, turn off the water supply to your shower. Seeping water makes a mess in your workspace and makes it difficult to determine the leak's origins. Next, seal off your drain with tape so that small screws or other important parts are not lost down the pipe. Determine which type of diverter your shower has: gate, pull down, pull up, or rotating.
- Troubleshoot the diverter: Your shower diverter may not need much to be restored. In some cases, you can fix a broken shower diverter by tightening the screws behind the faceplate of the diverter valve. If you attempt this fix but the water continues to pour or leak slowly from the bathtub spout after the shower diverter has been engaged, move on to the next step.
- Remove the old shower diverter: Next, disassemble the shower diverter. If your diverter has a rotating valve, unscrew the nut at the stem of the diverter and remove the entire valve. If it has a gate-type valve, you will have to unscrew the threaded tub spout.
- Select a new shower diverter: To ensure you can find the correct replacement, bring your old diverter system with you to the store.
- Install the new unit: Install the new diverter/valve, making sure that the parts do not cross-thread each other. Use a wrench to tighten the diverter valve, being cautious not to overtighten it. Twist the gate or adjust the stopper to ensure that it is in the correct position, depending on whether or not it is engaged.
- Test the valve: Turn the water supply back on. Engage the shower diverter, directing the water flow to the showerhead. If your shower flows well and no water leaks from the bathtub spout, then your shower diverter replacement was successful.
Prevent Shower Diverter Wear and Tear
To reduce strain and wear on your shower diverter and help prevent the need for shower diverter repair, always release the diverter to let water flow from the tub faucet for a few seconds before you turn off the water.
If you’re not up for replacing your shower diverter yourself, call Mr. Rooter® Plumbing for help. Our plumbers are dedicated to exceptional customer service while they provide you with expert plumbing repair. Call Mr. Rooter, or request an estimate today.
With your newly upgraded bathroom fixture, consider making improvements to the rest of your bathroom. Contact your local Mr. Handyman for bathroom upgrade help. Their professionals can help you save space and improve your bathroom overall. Just like Mr. Rooter, Mr. Handyman is part of Neighbourly’s community of home service professionals. Find a home service provider in your neighborhood today!

